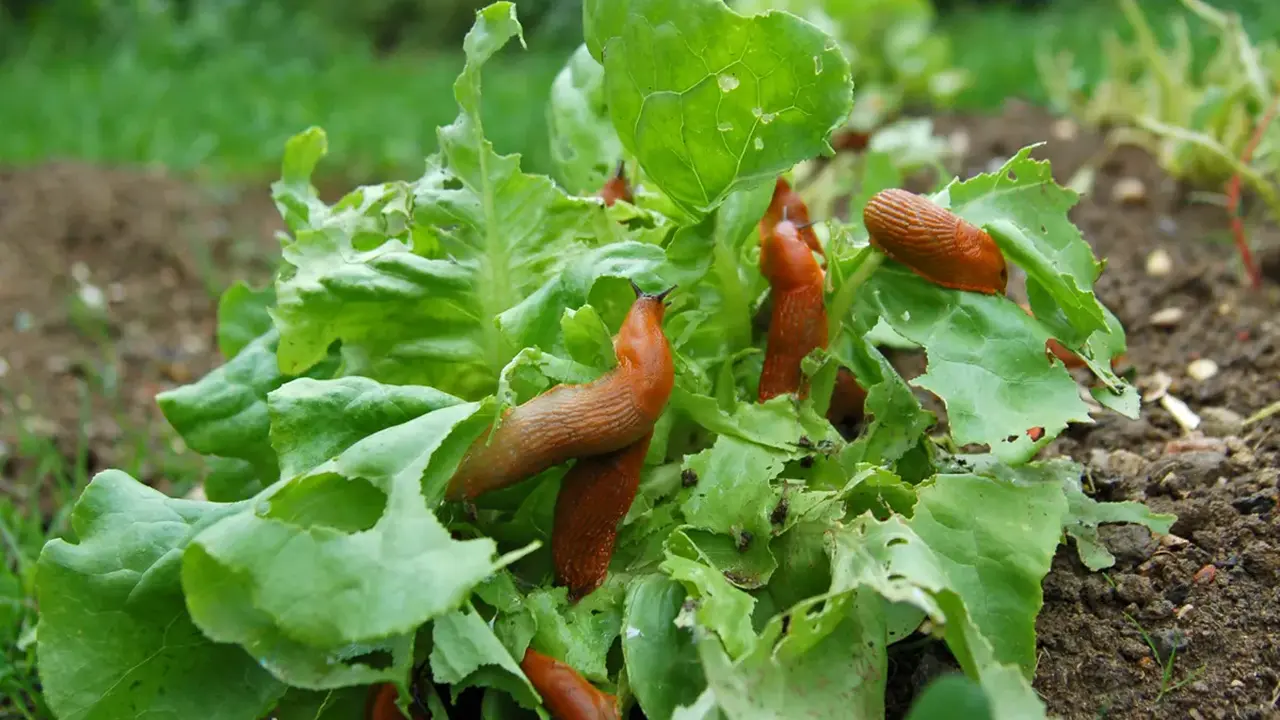
Dealing with Slugs and Snails 3 Effective Strategies
Transform poor soil into rich, fertile ground with these 5 easy steps. Essential for healthy plant growth.
Transform poor soil into rich, fertile ground with these 5 easy steps. Essential for healthy plant growth.
Improving Poor Soil Quality 5 Easy Steps
Hey there, fellow gardeners! Ever look at your garden and wonder why your plants aren't thriving, despite all your efforts? More often than not, the culprit isn't your green thumb (or lack thereof), but rather the very foundation of your garden: the soil. Poor soil quality is a common headache for many, especially beginners. It can lead to stunted growth, nutrient deficiencies, and a general sense of frustration. But don't despair! Improving your soil isn't rocket science, and it doesn't have to break the bank. In fact, it's one of the most rewarding things you can do for your garden. Think of it as giving your plants the best possible home. Healthy soil means healthy plants, and healthy plants mean a bountiful, beautiful garden. So, let's dig in and explore five easy, actionable steps you can take to turn that lackluster dirt into a vibrant, life-giving medium.
Understanding Your Soil Type and Its Challenges
Before you start adding anything to your soil, it's super important to know what you're working with. Is it heavy clay that drains poorly? Or sandy soil that lets water run right through? Maybe it's just depleted and lacking in nutrients. Knowing your soil type is the first step to fixing its problems. You can do a simple squeeze test: grab a handful of damp soil and squeeze it. If it forms a tight ball and stays that way, you likely have clay. If it crumbles easily, it's probably sandy. If it forms a loose ball but breaks apart with a gentle poke, you've got loamy soil – the ideal kind! But beyond texture, nutrient content is key. This is where a soil test comes in handy. You can buy a DIY kit or send a sample to your local extension office. They'll tell you exactly what your soil is missing and what its pH level is. This information is gold, as it guides your next steps. For instance, if your soil is too acidic or alkaline, certain nutrients become unavailable to plants, no matter how much you add. Understanding these basics will save you a lot of guesswork and ensure you're making the right improvements.
Step 1 Incorporating Organic Matter The Garden's Superfood
If there's one thing you take away from this guide, let it be this: add organic matter. Seriously, it's the single best thing you can do for almost any soil type. Organic matter is like a magic potion for your garden. For clay soils, it helps break up those dense particles, improving drainage and aeration. For sandy soils, it acts like a sponge, holding onto water and nutrients that would otherwise wash away. And for any soil, it provides a slow-release feast of nutrients for your plants, encourages beneficial microbial activity, and improves overall soil structure. Think of it as building a healthy ecosystem right beneath your feet.
Best Organic Matter Sources for Soil Improvement
- Compost: This is the king of organic matter. It's decomposed organic material, rich in nutrients and teeming with beneficial microbes. You can buy it or make your own.
- Well-rotted Manure: If you have access to it, well-rotted manure (from cows, horses, chickens, etc.) is fantastic. Make sure it's well-rotted to avoid burning plants with excess nitrogen.
- Leaf Mold: Decomposed leaves are a wonderful, free source of organic matter. Just pile them up and let nature do its work.
- Cover Crops: Planting cover crops (like clover, vetch, or rye) in the off-season and then tilling them into the soil before planting is an excellent way to add organic matter and nutrients.
- Aged Wood Chips/Bark: While fresh wood chips can tie up nitrogen, aged ones can be worked into the soil to improve structure over time.
How to Apply Organic Matter for Maximum Benefit
The best way to incorporate organic matter is to spread a 2-4 inch layer over your garden beds and gently work it into the top 6-12 inches of soil. You can do this with a garden fork or a tiller. For established beds, you can simply top-dress with compost or leaf mold, and let the worms and rain do the work of pulling it down into the soil. Aim to do this at least once a year, ideally in the fall or spring before planting. Consistency is key here; the more you add, the healthier your soil will become over time.
Step 2 Adjusting Soil pH The Key to Nutrient Availability
Remember that soil test we talked about? One of the most crucial pieces of information it gives you is your soil's pH level. pH measures how acidic or alkaline your soil is, on a scale of 0 to 14. A pH of 7 is neutral. Most garden plants prefer a slightly acidic to neutral pH, typically between 6.0 and 7.0. Why is this so important? Because pH directly affects nutrient availability. Even if your soil has plenty of nutrients, if the pH is off, your plants can't access them. It's like having a fridge full of food but no way to open it!
Raising Soil pH (Making it Less Acidic)
If your soil test indicates a low pH (acidic soil), you'll want to add a liming material. The most common and effective is agricultural lime (calcium carbonate). Dolomitic lime is another good option, as it also adds magnesium. Gypsum (calcium sulfate) can also be used, especially if you want to improve soil structure without significantly altering pH. The amount you need will depend on your current pH and desired pH, as well as your soil type (clay soils require more lime than sandy soils). Always follow the recommendations from your soil test report.
Recommended Products for Raising pH
- Espoma Organic Garden Lime: This is a popular choice for home gardeners. It's granular, easy to spread, and provides calcium. A 6.75 lb bag typically covers about 125 sq ft. Price: Around $10-$15.
- Bonide Garden Rich Dolomitic Lime: Offers both calcium and magnesium, which are essential plant nutrients. Good for overall plant health. A 5 lb bag covers roughly 100 sq ft. Price: Around $8-$12.
Lowering Soil pH (Making it Less Alkaline)
If your soil is too alkaline (high pH), you'll need to add something to make it more acidic. The most common amendments are elemental sulfur or aluminum sulfate. Organic options include peat moss or pine needles, which acidify the soil slowly over time. Again, consult your soil test for specific recommendations on application rates.
Recommended Products for Lowering pH
- Espoma Organic Soil Acidifier: Contains elemental sulfur, which is effective at lowering pH. A 6 lb bag covers about 100 sq ft. Price: Around $12-$18.
- Miracle-Gro Water Soluble Azalea, Camellia, Rhododendron Food: While primarily a fertilizer, it's formulated to acidify the soil, making it suitable for acid-loving plants. Price: Around $10-$15 for a 1.5 lb box.
Application Tip: Spread the chosen amendment evenly over the soil surface and lightly rake it in. It takes time for pH adjustments to take effect, so retest your soil after 6-12 months to see if further adjustments are needed.
Step 3 Improving Drainage and Aeration The Breath of Life for Roots
Good drainage and aeration are absolutely vital for healthy plant roots. Roots need oxygen to survive and absorb nutrients. If your soil is waterlogged (poor drainage), roots can literally drown and rot. If it's compacted, roots struggle to penetrate and access water and nutrients. This is often a problem with heavy clay soils or areas with high foot traffic.
Strategies for Better Drainage and Aeration
- Incorporate More Organic Matter: Yes, it's back! Organic matter is a miracle worker for drainage. It creates larger pore spaces in clay soil, allowing water to move through, and helps sandy soil retain moisture without becoming waterlogged.
- Avoid Compaction: This is huge. Try to avoid walking on your garden beds, especially when the soil is wet. Use designated pathways or stepping stones. If you have raised beds, this is less of an issue.
- Double Digging or Tilling (with caution): For severely compacted areas, you might consider double digging (manually loosening the soil to a depth of 2 feet) or tilling. However, excessive tilling can destroy soil structure and harm beneficial microbes, so use it sparingly and only when necessary.
- Raised Beds: If your native soil is truly problematic (e.g., very heavy clay or rocky), building raised beds and filling them with a good quality soil mix is an excellent solution. This gives you complete control over the soil environment.
- Adding Perlite or Vermiculite (for containers/small areas): While not practical for large garden beds, these amendments are fantastic for improving drainage and aeration in potting mixes or small garden patches. Perlite is volcanic glass that creates air pockets, while vermiculite is a mineral that holds water and nutrients while also aerating.
Product Recommendations for Drainage (for smaller scale/containers)
- Hoffman Perlite: A widely available and effective perlite product. A 4-quart bag is usually around $5-$8.
- Espoma Organic Vermiculite: Good for water retention and aeration. A 4-quart bag is similar in price to perlite.
Step 4 Smart Watering Practices Don't Drown Your Dreams
Even with perfectly amended soil, improper watering can undo all your hard work. Overwatering is a common mistake, especially for beginners, and it leads to root rot and nutrient leaching. Underwatering, on the other hand, stresses plants and hinders growth. The goal is to provide consistent moisture without waterlogging the soil.
Tips for Effective Watering
- Water Deeply and Infrequently: Instead of light, frequent sprinkles, water deeply to encourage roots to grow down, making plants more drought-tolerant. This means letting the water soak in for a longer period.
- Check Soil Moisture: Don't just water on a schedule. Stick your finger about 2 inches into the soil. If it feels dry, it's time to water. If it's still damp, wait.
- Water at the Base of Plants: Aim water directly at the soil around the plant's base, not on the leaves. Wet leaves can encourage fungal diseases. Drip irrigation or soaker hoses are excellent for this.
- Consider Mulch: A layer of mulch (like wood chips, straw, or shredded leaves) around your plants helps retain soil moisture, suppresses weeds, and moderates soil temperature. It's a win-win-win!
- Water in the Morning: This allows foliage to dry before nightfall, reducing the risk of fungal issues.
Recommended Watering Tools
- Dramm One Touch Rain Wand: A high-quality watering wand that provides a gentle, even shower, perfect for delicate plants and deep watering. Price: Around $30-$40.
- Gilmour Flat Soaker Hose: An affordable and efficient way to deliver water directly to the root zone, minimizing evaporation. Price: Around $20-$30 for 50 ft.
- Orbit B-hyve Smart Hose Faucet Timer: For automated watering, this smart timer connects to your phone, allowing you to set schedules and even adjust based on local weather. Price: Around $50-$70.
Step 5 Mulching The Soil's Protective Blanket
Mulching is often overlooked, but it's a powerhouse for soil health and overall garden maintenance. A good layer of mulch acts like a protective blanket for your soil, offering a multitude of benefits that directly contribute to improving its quality over time.
Benefits of Mulching for Soil Health
- Moisture Retention: Mulch significantly reduces water evaporation from the soil surface, meaning you'll water less frequently. This is especially crucial in hot, dry climates.
- Weed Suppression: A thick layer of mulch blocks sunlight, preventing weed seeds from germinating and making it much harder for existing weeds to grow. Less weeding for you!
- Temperature Moderation: Mulch insulates the soil, keeping it cooler in summer and warmer in winter. This protects plant roots from extreme temperature fluctuations.
- Erosion Control: Mulch prevents soil erosion caused by wind and heavy rain, keeping your precious topsoil in place.
- Nutrient Contribution (Organic Mulches): As organic mulches (like wood chips or straw) decompose, they slowly release nutrients back into the soil, further enriching it and feeding beneficial microbes.
- Improved Soil Structure: Over time, organic mulches break down and become part of the soil, adding more organic matter and improving its structure, just like compost.
Types of Mulch and Their Uses
- Organic Mulches: These are derived from natural materials and decompose over time, adding nutrients and improving soil structure.
- Wood Chips/Bark Mulch: Excellent for long-term use around trees, shrubs, and perennial beds. They break down slowly.
- Shredded Leaves: Free, readily available, and decompose quickly, adding rich organic matter. Great for vegetable gardens.
- Straw: Ideal for vegetable gardens, especially around tomatoes and strawberries. It's light, improves drainage, and decomposes relatively quickly.
- Compost: While primarily a soil amendment, a layer of finished compost can also serve as a nutrient-rich mulch.
- Pine Needles: Good for acid-loving plants like blueberries, azaleas, and rhododendrons, as they slightly acidify the soil as they decompose.
- Inorganic Mulches: These do not decompose and do not add nutrients to the soil, but they are effective for weed suppression and moisture retention.
- Landscape Fabric: A synthetic barrier that allows water and air to pass through but blocks weeds. Often used under decorative gravel or bark.
- Gravel/Pebbles: Durable and decorative, often used in xeriscaping or rock gardens. They retain heat, which can be beneficial for some plants but detrimental to others.
Recommended Mulch Products
- Scotts Nature Scapes Advanced Color Enhanced Mulch (Brown): A popular choice for its aesthetic appeal and long-lasting color. Made from wood, it helps retain moisture and suppress weeds. A 2 cu ft bag covers about 8 sq ft at a 3-inch depth. Price: Around $4-$6 per bag.
- Straw Bales (Local Garden Centers/Farm Stores): Often the most cost-effective option for large areas, especially vegetable gardens. A bale can cover a significant area. Price: Around $5-$10 per bale.
- Local Arborist Wood Chips: Often available for free or at a very low cost from local tree service companies. Call around and see if they have any available for delivery. This is a fantastic, sustainable option for large areas.
Application Tip: Apply a 2-4 inch layer of mulch around your plants, keeping it a few inches away from the stems or trunks to prevent rot and pest issues. Replenish as needed, usually once a year for organic mulches.
Putting It All Together Your Journey to Richer Soil
Improving poor soil quality isn't a one-time fix; it's an ongoing process, a journey of nurturing your garden from the ground up. By consistently applying these five easy steps – incorporating organic matter, adjusting pH, improving drainage, practicing smart watering, and mulching – you'll be amazed at the transformation. Your soil will become richer, more fertile, and teeming with life. Your plants will respond with vigorous growth, vibrant blooms, and abundant harvests. It's a truly rewarding experience to see your garden flourish because you've given it the healthy foundation it deserves. So, roll up your sleeves, get your hands dirty, and enjoy the incredible satisfaction of cultivating truly great soil. Happy gardening!
:max_bytes(150000):strip_icc()/277019-baked-pork-chops-with-cream-of-mushroom-soup-DDMFS-beauty-4x3-BG-7505-5762b731cf30447d9cbbbbbf387beafa.jpg)