Overwatering vs Underwatering How to Tell the Difference
Bring your dying plants back to life with these 6 practical steps. A guide for beginner gardeners facing challenges.
Bring your dying plants back to life with these 6 practical steps. A guide for beginner gardeners facing challenges.
Reviving Dying Plants 6 Steps to Success
It's a common sight for any gardener, especially beginners: a once vibrant plant starts to droop, its leaves yellow, or it simply looks… sad. Don't despair! While some plants might be beyond saving, many can be nursed back to health with a little attention and the right approach. This guide will walk you through six practical steps to revive your dying plants, offering actionable advice and product recommendations to help you succeed.
Step 1 Assess the Situation Understanding Plant Distress Signals
Before you can fix a problem, you need to understand what's causing it. Your plant is trying to tell you something through its symptoms. Are the leaves yellowing? Are they crispy? Are they wilting? Is there mold on the soil? Each symptom points to a potential issue. Take a moment to observe your plant thoroughly, from the tips of its leaves to the soil surface.
Common Plant Symptoms and Their Meanings
- Yellowing Leaves (Chlorosis): Often indicates overwatering, nutrient deficiency (especially nitrogen or iron), or poor drainage.
- Wilting Leaves: Can be a sign of both underwatering (soil is dry) or overwatering (roots are suffocating). Check the soil moisture.
- Brown, Crispy Leaf Tips: Usually a sign of underwatering, low humidity, or too much direct sunlight.
- Dropping Leaves: Can be caused by sudden environmental changes (temperature, light), overwatering, or pest infestations.
- Stunted Growth: Often points to nutrient deficiency, insufficient light, or root bound issues.
- White Fuzzy Spots: Likely powdery mildew or mealybugs.
- Small Holes in Leaves: Pests are probably munching on your plant.
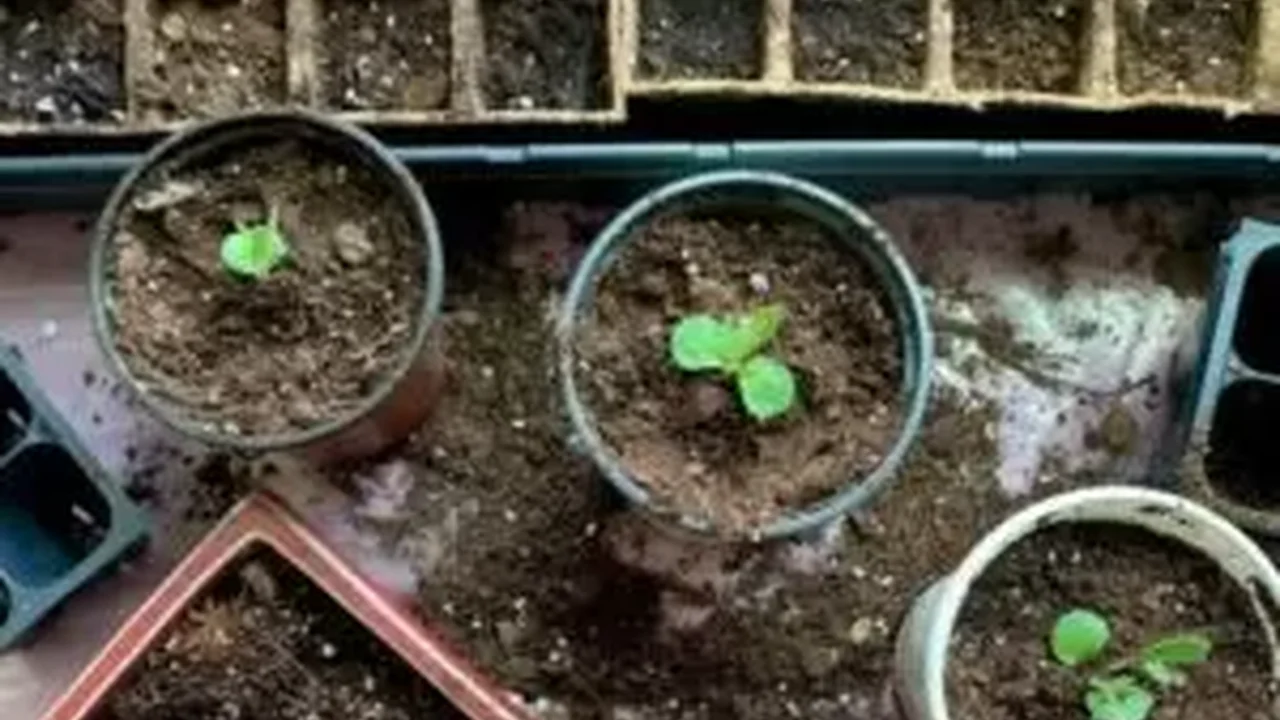
Step 2 Check Soil Moisture The Root of Many Problems
Overwatering and underwatering are two of the most common reasons plants struggle. It's crucial to get this right. Don't just look at the surface; stick your finger about an inch or two into the soil. For most plants, the top inch or two should feel dry before you water again. If it's still damp, hold off.
Underwatering Solutions
If the soil is bone dry and the plant is wilting, it's thirsty. Give it a good, thorough watering until water drains from the bottom of the pot. For severely dehydrated plants, you can try the 'bottom watering' method: place the pot in a tray of water for 30 minutes to an hour, allowing the plant to soak up water from the drainage holes. This ensures the entire root ball gets hydrated.
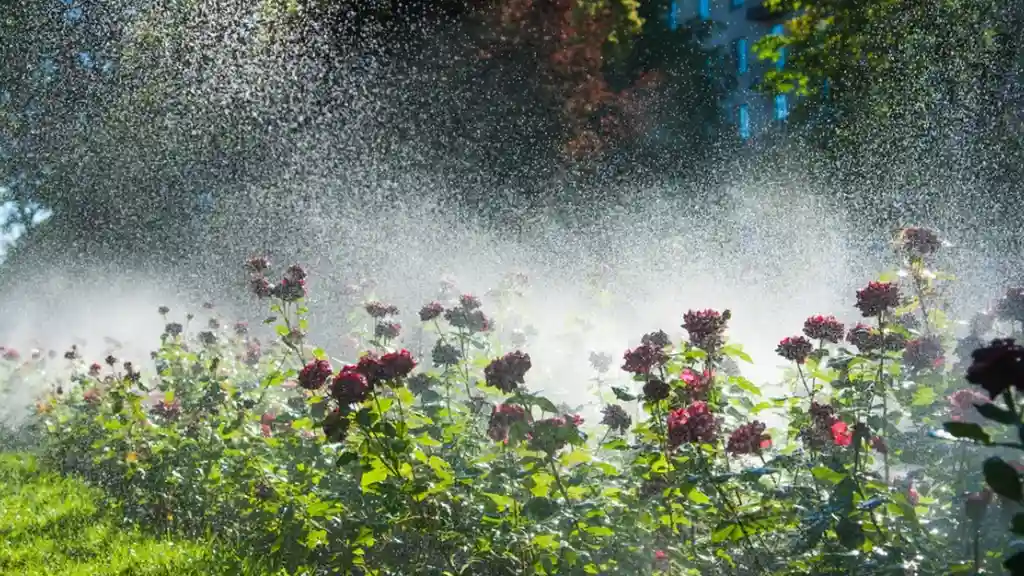
Overwatering Solutions and Drainage Improvement
If the soil is soggy and the plant is wilting (often with yellowing leaves), you've likely overwatered. This can lead to root rot, a serious condition. Immediately stop watering. If the soil is extremely wet, you might need to repot the plant into fresh, dry soil. Ensure your pot has adequate drainage holes. If it doesn't, drill some, or consider repotting into a pot that does. Adding a layer of perlite or coarse sand to your potting mix can also improve drainage.
Recommended Products for Soil Moisture Management
- Soil Moisture Meter: These handy gadgets take the guesswork out of watering. Simply insert the probe into the soil, and it tells you if it's dry, moist, or wet.
- XLUX T10 Soil Moisture Sensor Meter: A popular and affordable option, great for beginners. Usually around $10-15.
- Sustee Aquameter: A more aesthetically pleasing option that changes color when the plant needs water. Prices vary by size, typically $8-20.
- Perlite: A volcanic glass that improves soil aeration and drainage. Mix it into your potting soil.
- Miracle-Gro Perlite: Widely available and affordable, around $5-10 for a small bag.
- Well-Draining Potting Mix: Look for mixes specifically designed for good drainage, often labeled for cacti, succulents, or houseplants.
- FoxFarm Ocean Forest Potting Soil: A premium option known for excellent drainage and nutrient content, around $20-30 for a large bag.
- Espoma Organic Potting Mix: A good organic choice with good drainage, typically $10-15.
Step 3 Optimize Light Conditions Finding the Right Spot
Light is food for plants. Too much or too little can cause significant stress. Observe where your plant is placed. Is it getting scorched by direct sun, or is it languishing in a dark corner?
Too Much Light
If leaves are turning pale, bleached, or developing brown, crispy spots, your plant might be getting too much direct sunlight. Move it to a spot with indirect light or provide some shade. South-facing windows often provide intense light, while east-facing windows offer gentler morning sun.
Not Enough Light
Symptoms of insufficient light include leggy growth (long, stretched stems with sparse leaves), small leaves, or a general lack of vigor and flowering. Move your plant closer to a window or consider supplemental lighting.
Recommended Products for Light Optimization
- Grow Lights: Essential for plants in low-light environments or during winter months.
- GE BR30 LED Grow Light Bulb: A simple screw-in bulb that fits standard fixtures, great for a single plant or small area. Around $20-30.
- Barrina T5 Grow Lights: Affordable and effective LED strip lights, good for shelves or multiple plants. A 2-pack is usually $30-40.
- Spider Farmer SF1000 LED Grow Light: A more powerful, full-spectrum option for serious indoor growers, but can be used for larger plants. Around $100-150.
- Sheer Curtains or Window Film: To diffuse intense sunlight without blocking it entirely.
- Gila Privacy Control Window Film: Easy to apply and provides good light diffusion, around $15-25 per roll.
Step 4 Address Nutrient Deficiencies and Fertilization
Just like us, plants need nutrients to thrive. If your plant hasn't been fertilized in a while, or if its leaves are yellowing despite proper watering, it might be hungry. However, be careful not to over-fertilize, as this can burn the roots.
Signs of Nutrient Deficiency
- Overall Yellowing (especially older leaves): Nitrogen deficiency.
- Purple or Reddish Tints: Phosphorus deficiency.
- Yellowing Edges or Spots: Potassium or magnesium deficiency.
- Pale New Growth: Iron deficiency.
Fertilization Strategy
For a struggling plant, start with a diluted, balanced liquid fertilizer. Follow the instructions on the package, but for a stressed plant, it's often best to use half the recommended strength. Fertilize only when the plant is actively growing (usually spring and summer). Avoid fertilizing dormant or severely stressed plants.
Recommended Fertilizers
- Balanced Liquid Fertilizers: Easy to apply and quickly absorbed.
- Miracle-Gro Indoor Plant Food: A very popular and easy-to-use liquid fertilizer, around $5-10.
- Dyna-Gro Grow 7-9-5: A highly regarded complete nutrient solution, great for a wide range of plants. A small bottle is around $15-25.
- Organic Fertilizers: Slower release but great for long-term soil health.
- Espoma Organic Indoor Plant Food: A good organic liquid option, around $10-15.
- Worm Castings: A natural, gentle, and nutrient-rich soil amendment. A small bag is typically $10-20.
Step 5 Inspect for Pests and Diseases Early Detection is Key
Pests and diseases can quickly decimate a plant. Regularly inspect your plants, especially the undersides of leaves and stem joints, for any signs of unwelcome visitors or unusual spots.
Common Pests and How to Deal with Them
- Aphids: Small, pear-shaped insects often found on new growth. They suck sap, causing distorted leaves.
- Mealybugs: White, cottony masses, usually in leaf axils. They also suck sap.
- Spider Mites: Tiny, almost invisible mites that create fine webbing. Leaves may look stippled or dusty.
- Fungus Gnats: Small, black flies that hover around the soil. Their larvae feed on roots, especially in overwatered soil.
Pest Control Solutions
- Wipe with Rubbing Alcohol: For mealybugs and scale, dab a cotton swab dipped in rubbing alcohol directly on the pests.
- Neem Oil Spray: A natural insecticide and fungicide. Mix according to package directions and spray thoroughly, especially the undersides of leaves.
- Insecticidal Soap: Effective against soft-bodied insects like aphids and spider mites.
- Sticky Traps: Great for catching flying pests like fungus gnats.
- Repotting: For severe infestations, especially with root-feeding pests, repotting into fresh soil after cleaning the roots can help.
Common Diseases and Prevention
- Powdery Mildew: White, powdery spots on leaves. Improve air circulation and reduce humidity.
- Root Rot: Caused by overwatering. Prevent by ensuring good drainage and proper watering.
Recommended Pest and Disease Control Products
- Bonide Neem Oil: A popular and effective organic option for pest and disease control. Around $10-20.
- Safer Brand Insect Killing Soap: Ready-to-use insecticidal soap, good for quick application. Around $10-15.
- Garsum Sticky Traps: Yellow sticky traps for fungus gnats and other flying insects. A pack of 20 is usually $8-12.
- Hydrogen Peroxide (3%): Can be diluted and used to treat fungal issues in soil and on leaves. A large bottle is very cheap, around $2-5.
Step 6 Consider Repotting and Root Health When All Else Fails
If you've tried everything else and your plant is still struggling, it might be time to check its roots. Plants can become 'root-bound,' meaning their roots have filled the pot and are circling, preventing proper nutrient and water uptake. Or, they might be suffering from root rot due to prolonged overwatering.
Signs Your Plant Needs Repotting
- Roots growing out of drainage holes.
- Water sitting on top of the soil or draining too quickly.
- Stunted growth despite proper care.
- The plant looks top-heavy and unstable.
How to Repot a Struggling Plant
- Gently remove the plant from its current pot.
- Inspect the roots:
- Root-bound: Loosen the circling roots gently with your fingers or a clean tool.
- Root Rot: If roots are mushy, black, or smell foul, trim away the affected parts with sterilized scissors.
- Choose a pot that is only 1-2 inches larger in diameter than the current one (unless the plant is severely root-bound and needs a bigger jump). Ensure it has drainage holes.
- Add a layer of fresh, well-draining potting mix to the bottom of the new pot.
- Place the plant in the new pot, ensuring the soil level is similar to its previous pot.
- Fill around the roots with more fresh potting mix, gently patting it down.
- Water thoroughly.
Recommended Repotting Supplies
- New Pots with Drainage: Always choose pots with drainage holes. Terracotta pots are great for plants that prefer drier conditions, while plastic pots retain moisture longer.
- Terracotta Pots: Affordable and breathable, various sizes available, typically $5-20 depending on size.
- Plastic Nursery Pots: Very affordable, often sold in multi-packs, around $1-5 per pot.
- Fresh Potting Mix: As mentioned in Step 2, a good quality, well-draining mix is crucial.
- Sterilized Pruning Shears or Scissors: For trimming roots or diseased foliage.
- Fiskars Micro-Tip Pruning Snips: Excellent for precise cuts, around $10-15.
Patience and Observation The Gardener's Best Tools
Reviving a dying plant isn't an overnight process. It requires patience, consistent observation, and a willingness to adjust your approach. After implementing these steps, give your plant time to recover. Continue to monitor its symptoms, and don't be afraid to make small adjustments to its care routine. Every plant is unique, and learning its specific needs is part of the rewarding journey of gardening. Happy growing!
:max_bytes(150000):strip_icc()/277019-baked-pork-chops-with-cream-of-mushroom-soup-DDMFS-beauty-4x3-BG-7505-5762b731cf30447d9cbbbbbf387beafa.jpg)