Winter Gardening Techniques 4 Ways to Extend Season
Discover 4 effective techniques for winter gardening. Keep your harvest going even in colder months.
Discover 4 effective techniques for winter gardening. Keep your harvest going even in colder months.
Winter Gardening Techniques 4 Ways to Extend Season
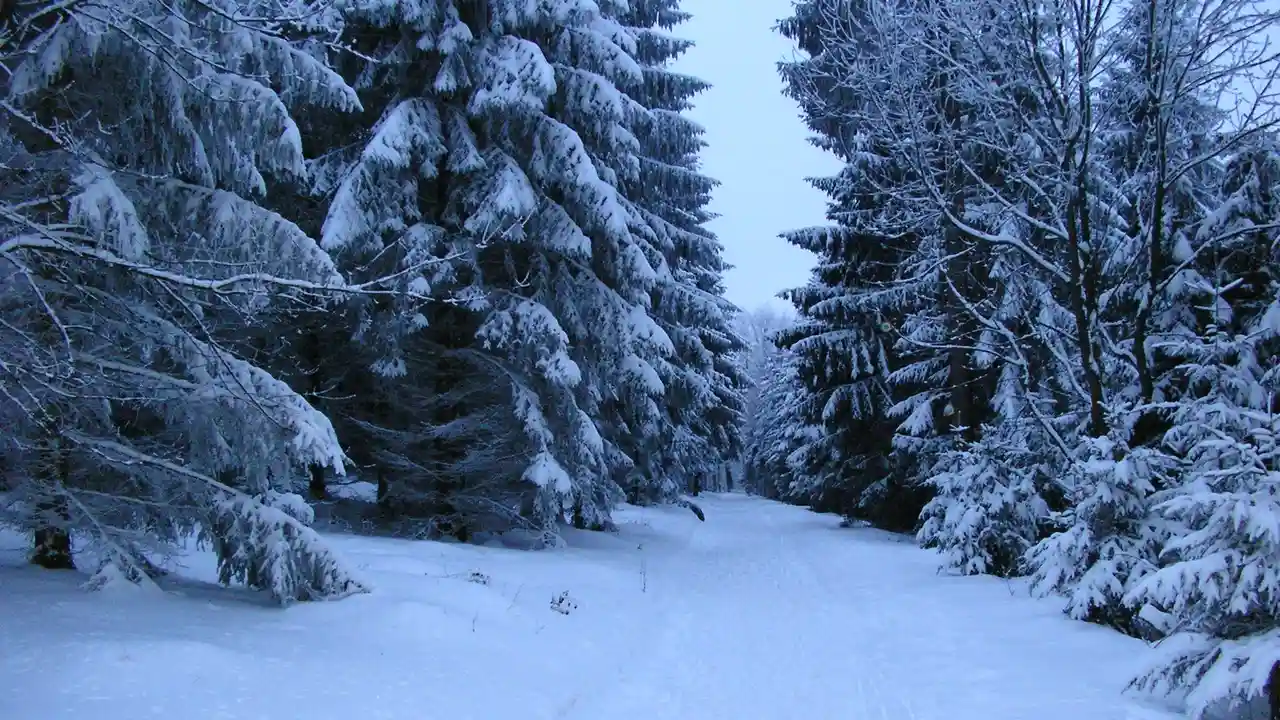
Hey there, fellow green thumbs! Ever feel a bit sad when the colder months roll around and your vibrant garden starts to look a little… well, dormant? You’re not alone! Many gardeners pack up their tools and dream of spring, but what if I told you that you don't have to? Winter gardening isn't just a pipe dream; it's a fantastic way to keep fresh produce on your table and your gardening passion alive, even when the temperatures drop. We're talking about extending your harvest, getting a head start on spring, and even enjoying some unique winter crops. It’s all about understanding a few clever techniques and maybe investing in some handy tools. Let's dive into four super effective ways to keep your garden thriving through the chill!
Understanding Winter Gardening Basics What You Need to Know
Before we jump into the nitty-gritty techniques, let's quickly cover some fundamental concepts. Winter gardening isn't about growing tropical fruits in a blizzard (unless you have a very fancy setup!). It's about working with your local climate, understanding plant hardiness, and providing just enough protection to keep things happy. Key factors include light, temperature, and moisture. Even in winter, plants need some light, though less than in summer. Temperature control is crucial, as is managing moisture to prevent rot or freezing. Knowing your USDA plant hardiness zone is a great starting point, as it tells you which plants can survive your average winter lows.
Technique 1 Cold Frames and Cloches Simple Season Extenders
Let's kick things off with some classic, low-tech solutions: cold frames and cloches. These are fantastic for beginners because they're relatively inexpensive, easy to set up, and incredibly effective at creating a microclimate for your plants. Think of them as mini-greenhouses!
What are Cold Frames and Cloches Defining Your Winter Garden Protectors
A cold frame is essentially a bottomless box with a transparent lid, usually made of glass or polycarbonate. It sits directly over your garden bed, trapping solar energy during the day and radiating it back at night, keeping the soil and plants warmer than the outside air. They're great for hardening off seedlings in spring, protecting tender plants in fall, and growing cool-season crops right through winter.
Cloches (pronounced 'klosh') are smaller, individual plant covers. They can be bell-shaped glass domes, plastic tunnels, or even repurposed plastic bottles. They offer similar protection to cold frames but on a smaller, more localized scale. They're perfect for protecting individual plants from sudden frosts or strong winds.
Benefits of Cold Frames and Cloches Why They Are Essential for Winter Gardening
- Temperature Regulation: They significantly raise the ambient temperature around your plants, protecting them from frost and extending the growing season.
- Wind Protection: They shield delicate plants from harsh winter winds, which can cause desiccation.
- Pest Deterrent: They offer a physical barrier against some pests, though not all.
- Early Starts and Late Harvests: You can sow seeds earlier in spring and harvest crops later into winter.
- Cost-Effective: Compared to a full-sized greenhouse, they are very budget-friendly.
Setting Up Your Cold Frame and Cloches Step-by-Step Guide
For a cold frame, choose a sunny, south-facing spot in your garden. Ensure good drainage. You can build one from wood, bricks, or even straw bales. The lid should be angled to maximize sun exposure and allow rainwater runoff. For cloches, simply place them over individual plants. Remember to vent both on sunny days to prevent overheating and to allow for air circulation, especially if temperatures rise above freezing.
Recommended Products for Cold Frames and Cloches Top Picks for Beginners
When it comes to cold frames, you have options. You can DIY, which is often the most cost-effective, or buy pre-made kits.
Cold Frame Recommendations:
- Palram Mythos Cold Frame: This is a popular choice for its durable polycarbonate panels and aluminum frame. It's lightweight, easy to assemble, and offers excellent insulation. It typically retails for around $150-$250, depending on size. It's great for protecting a small bed of greens or starting seedlings.
- Gardener's Supply Company Cedar Cold Frame: If you prefer a more natural look and excellent insulation, cedar cold frames are fantastic. They are usually more expensive, ranging from $200-$400, but they are incredibly durable and aesthetically pleasing. They are perfect for a dedicated winter vegetable patch.
- DIY Cold Frame (Recycled Materials): For the ultimate budget option, you can build a cold frame from old windows, salvaged wood, or even straw bales. The cost can be as low as $0-$50 if you're resourceful. This is ideal for gardeners who love a project and want to customize their setup.
Cloche Recommendations:
- Gardman Bell Cloches: These classic glass bell cloches are beautiful and effective. They provide excellent protection and look charming in the garden. A set of three can cost around $30-$50. They are best for individual, smaller plants like herbs or young seedlings.
- Haxnicks Easy Tunnels: These are pop-up, accordion-style cloches that are super easy to deploy over rows of plants. They come in various materials like fleece for frost protection or polythene for warmth. A 10-foot tunnel might cost $20-$40. They are excellent for protecting rows of carrots, spinach, or lettuce.
- DIY Plastic Bottle Cloches: Simply cut the bottom off a large plastic soda bottle and place it over a young plant. Free and effective for individual plant protection!
Technique 2 Row Covers and Low Tunnels Versatile Plant Protection
Moving on from individual covers, let's talk about row covers and low tunnels. These are incredibly versatile and can protect larger areas of your garden, making them perfect for extending the season for multiple rows of crops.
What are Row Covers and Low Tunnels Defining Your Garden's Winter Blanket
Row covers are lightweight, breathable fabrics (often spun-bonded polypropylene) that are draped directly over plants or supported by hoops to create a low tunnel. They come in various weights: lightweight for insect protection and slight temperature moderation, medium weight for frost protection, and heavy weight for significant temperature increases and more substantial frost protection.
A low tunnel is essentially a series of hoops (made from PVC pipe, metal wire, or even bent rebar) placed over a garden bed, with a row cover or plastic sheeting draped over them. This creates a mini-greenhouse effect over an entire row of plants.
Benefits of Row Covers and Low Tunnels Why They Are a Must-Have for Winter Gardening
- Significant Temperature Increase: Heavy-weight row covers can raise the temperature inside the tunnel by several degrees, protecting plants from hard freezes.
- Pest and Disease Control: They act as a physical barrier against many insect pests and can reduce the spread of some airborne diseases.
- Wind and Hail Protection: They shield plants from damaging winds and even light hail.
- Moisture Retention: They can help retain soil moisture, reducing the need for frequent watering.
- Versatility: Easy to install and remove, allowing for ventilation and access to plants.
Installing Row Covers and Low Tunnels Step-by-Step Guide
For low tunnels, first, install your hoops along the length of your garden bed, spacing them about 3-5 feet apart. Ensure they are securely anchored. Then, drape your chosen row cover or plastic sheeting over the hoops, making sure it's taut but not too tight. Secure the edges of the cover to the ground using rocks, soil, sandbags, or specialized fabric clips. This prevents wind from getting underneath and lifting the cover. Remember to lift the sides or ends for ventilation on warmer days.
Recommended Products for Row Covers and Low Tunnels Top Picks for Season Extension
Choosing the right row cover material and hoops is key.
Row Cover Fabric Recommendations:
- Agribon AG-19 Floating Row Cover: This is a popular medium-weight option, offering about 4-6 degrees Fahrenheit of frost protection. It's breathable and allows light and water to pass through. A 10x50 foot roll might cost $25-$40. Excellent for protecting leafy greens and root vegetables.
- Remay Garden Blanket Pro: A heavier-weight option that provides more significant frost protection (up to 8 degrees Fahrenheit). It's durable and can last for several seasons. A similar size roll could be $40-$60. Ideal for colder climates or more tender crops.
- Greenhouse Plastic Sheeting (6 mil UV-treated): For maximum warmth and protection, especially in very cold climates, 6 mil UV-treated greenhouse plastic is the way to go. It's less breathable, so ventilation is crucial. Prices vary widely by size, but a 10x25 foot piece might be $30-$50. Best for creating a true mini-greenhouse effect.
Hoop Recommendations:
- PVC Pipe (1/2 inch or 3/4 inch): Inexpensive and easy to bend. You can buy long sections at any hardware store and cut them to size. A 10-foot section might cost $5-$10. Great for DIY enthusiasts.
- Galvanized Steel Wire Hoops: More durable and long-lasting than PVC, but also a bit more expensive. A pack of 10 hoops might be $20-$40. Good for a more permanent setup.
- Fiberglass Hoops: Flexible and strong, these are a good middle-ground option. They often come in kits with clips. A kit might be $30-$50.
Technique 3 Greenhouses and Hoop Houses Advanced Winter Growing
If you're serious about year-round gardening and have a bit more space and budget, a greenhouse or hoop house is the ultimate season extender. These structures offer significantly more control over the growing environment.
What are Greenhouses and Hoop Houses Defining Your Year-Round Growing Space
A greenhouse is a permanent or semi-permanent structure, typically made with glass or rigid polycarbonate panels, designed to provide a controlled environment for plants. They come in various sizes, from small lean-tos to large commercial structures. They offer excellent insulation and light transmission.
A hoop house (often called a high tunnel) is a simpler, less expensive structure, usually made from metal hoops covered with a single or double layer of greenhouse-grade plastic sheeting. They are less insulated than traditional greenhouses but are fantastic for extending the season on a larger scale, especially for market gardeners.
Benefits of Greenhouses and Hoop Houses Why Invest in a Larger Structure
- Maximum Season Extension: Grow warm-season crops well into winter or even year-round, depending on your climate and heating.
- Environmental Control: You can control temperature, humidity, and ventilation much more precisely.
- Pest and Disease Management: A more enclosed environment can significantly reduce pest and disease pressure.
- Protection from Extreme Weather: Offers superior protection from heavy snow, strong winds, and hail.
- Versatility: Can be used for starting seeds, growing mature plants, or even overwintering tender perennials.
Choosing and Setting Up Your Greenhouse or Hoop House Key Considerations
Location is paramount: choose a sunny, south-facing spot with good drainage. Consider size based on your needs and budget. For greenhouses, think about ventilation (vents, fans), heating (electric, propane, passive solar), and watering systems. For hoop houses, ensure the plastic is securely fastened and consider roll-up sides for ventilation.
Recommended Products for Greenhouses and Hoop Houses Top Picks for Serious Gardeners
The price range for these structures is vast, from a few hundred dollars for a small hobby hoop house to thousands for a large, heated greenhouse.
Greenhouse Recommendations:
- Palram Harmony Greenhouse Series: These are popular entry-level hobby greenhouses, often made with polycarbonate panels and aluminum frames. They are relatively easy to assemble and offer good light transmission. A 6x8 foot model might cost $700-$1200. Great for urban gardeners or those with limited space.
- Sunglo Greenhouses: Known for their quality and durability, Sunglo greenhouses are often made with double-wall polycarbonate for better insulation. They are more expensive, with smaller models starting around $2,000-$4,000, but they are built to last and offer superior performance in colder climates.
- Rion Grand Gardener Greenhouse: These are robust, resin-framed greenhouses with thick polycarbonate panels, offering excellent insulation and strength. A 8x12 foot model could be $2,500-$4,000. Ideal for gardeners looking for a sturdy, long-lasting structure.
Hoop House Recommendations:
- Growers Supply High Tunnel Kits: These kits provide everything you need for a sturdy hoop house, including galvanized steel hoops, greenhouse plastic, and hardware. A 12x20 foot kit might cost $1,500-$3,000. Excellent for market gardeners or those with larger growing ambitions.
- Bootstrap Farmer High Tunnels: Known for their heavy-duty construction and customizable options, Bootstrap Farmer offers professional-grade hoop houses. Prices vary widely based on size and features, but a basic 12x24 foot model could start around $2,000-$4,000.
- DIY Hoop House (PVC or EMT Conduit): For the budget-conscious, building your own hoop house from PVC pipe or electrical metallic tubing (EMT) conduit can significantly reduce costs. You'll need to source the plastic sheeting separately. A DIY 10x20 foot hoop house could be built for $300-$800, depending on materials.
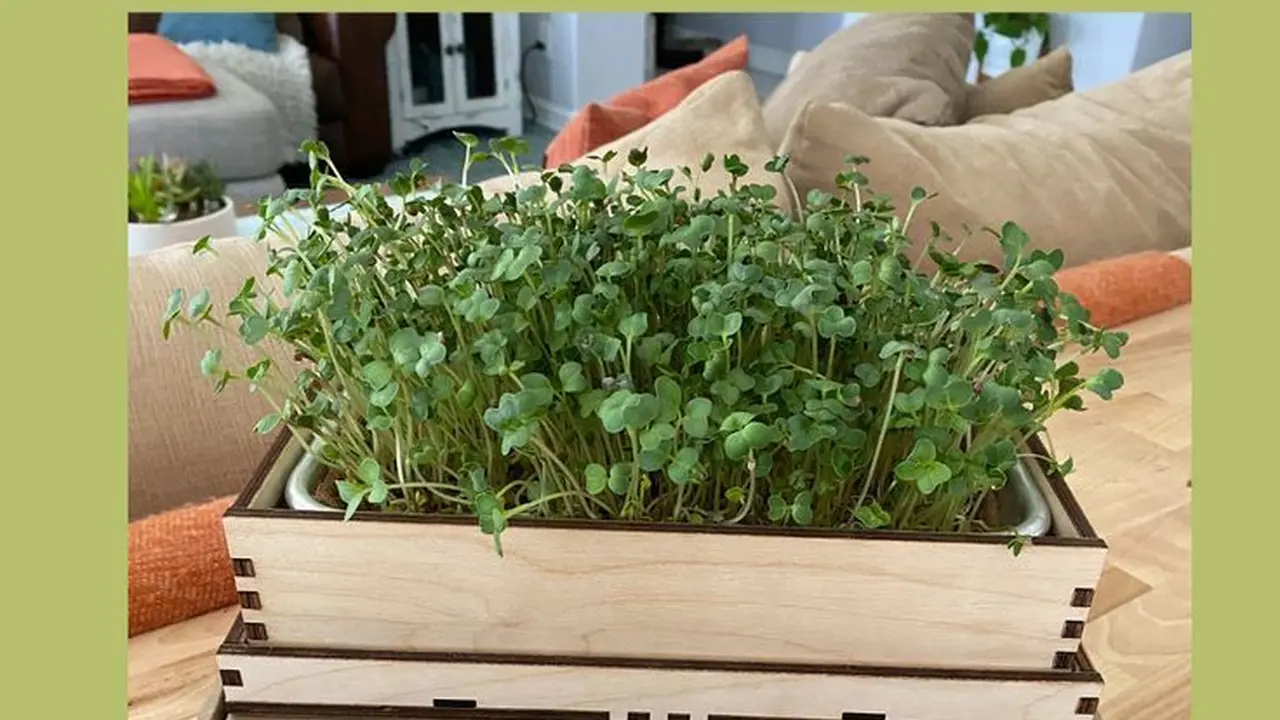
Technique 4 Indoor Growing and Grow Lights Bringing the Garden Indoors
Finally, for those who want to completely escape the winter chill or have limited outdoor space, bringing your gardening indoors is a fantastic option. This involves using grow lights and creating an optimal indoor environment.
What is Indoor Growing and Grow Lights Defining Your Indoor Oasis
Indoor growing means cultivating plants entirely within your home, basement, or a dedicated grow tent. This allows for complete control over environmental factors like light, temperature, and humidity.
Grow lights are artificial light sources designed to stimulate plant growth by emitting an electromagnetic spectrum appropriate for photosynthesis. They come in various types, including fluorescent, LED, and HID (High-Intensity Discharge) lights, each with different benefits and energy consumption.
Benefits of Indoor Growing and Grow Lights Why Go Indoors for Winter
- Year-Round Harvest: Grow anything, anytime, regardless of outdoor weather.
- Pest and Disease Control: A controlled indoor environment significantly reduces the risk of outdoor pests and diseases.
- Space Efficiency: Vertical growing systems and shelving can maximize space in small apartments or homes.
- Convenience: Your garden is always accessible, no matter the weather outside.
- Ideal for Seed Starting: Perfect for getting a jump start on spring seedlings.
Setting Up Your Indoor Garden and Grow Lights Step-by-Step Guide
Choose a space with stable temperatures. Select your grow lights based on the plants you're growing and your budget. Set up shelving or a grow tent. Ensure good air circulation with small fans. Use timers for your lights to mimic natural day cycles. Monitor temperature and humidity, and water carefully.
Recommended Products for Indoor Growing and Grow Lights Top Picks for Home Gardeners
The world of grow lights can be overwhelming, but here are some solid choices for beginners.
Grow Light Recommendations:
- Barrina T5 LED Grow Lights: These are excellent for starting seeds, growing leafy greens, and herbs. They are energy-efficient, produce little heat, and are relatively inexpensive. A 4-pack of 2-foot lights might cost $40-$60. Perfect for a small shelving unit.
- Spider Farmer SF-1000 LED Grow Light: This is a popular full-spectrum LED grow light suitable for a wider range of plants, including fruiting vegetables like tomatoes and peppers. It's more powerful and covers a larger area. It typically costs $100-$150. Great for a dedicated grow tent or larger indoor setup.
- AeroGarden Harvest Elite: While not just a light, this is an all-in-one hydroponic system with integrated LED grow lights. It's incredibly user-friendly for growing herbs and leafy greens with minimal effort. Prices range from $100-$200. Ideal for those who want a plug-and-play solution.
Indoor Growing Accessories:
- Hydrofarm Jump Start Seedling Heat Mat: Essential for germinating seeds, these mats provide gentle bottom heat. A standard size costs around $20-$30.
- VIVOSUN Grow Tent: If you want to create a dedicated, controlled environment, a grow tent is fantastic. They come in various sizes and help contain light, heat, and humidity. A 2x2 foot tent might be $60-$100.
- Small Oscillating Fan: Crucial for air circulation to prevent mold and strengthen plant stems. A small clip-on fan can be $15-$25.
Choosing the Right Winter Gardening Technique for You Making the Best Decision
So, which technique is right for you? It really depends on your goals, budget, space, and how much effort you're willing to put in. If you're just looking to get a few extra weeks out of your leafy greens, a simple cold frame or row cover might be perfect. If you dream of fresh tomatoes in January, then a heated greenhouse or a robust indoor setup with powerful grow lights is probably what you need.
Consider starting small. Try a few cloches or a low tunnel this winter. See what works for your climate and your gardening style. You might be surprised at how much you can grow even when the snow is falling outside. Winter gardening is a rewarding experience that keeps your hands dirty and your spirits high during the colder months. Happy growing!
:max_bytes(150000):strip_icc()/277019-baked-pork-chops-with-cream-of-mushroom-soup-DDMFS-beauty-4x3-BG-7505-5762b731cf30447d9cbbbbbf387beafa.jpg)