Winterizing Your Flower Beds 4 Key Steps
Prepare your flower beds for winter with these 4 essential steps. Protect your plants for next spring's blooms.
Prepare your flower beds for winter with these 4 essential steps. Protect your plants for next spring's blooms.
Winterizing Your Flower Beds 4 Key Steps
Hey there, fellow garden enthusiasts! As the vibrant colors of summer and fall begin to fade, it's time to start thinking about tucking your beloved flower beds in for their long winter nap. Winterizing your flower beds isn't just about tidying up; it's a crucial step to ensure your perennial plants survive the cold, come back stronger next spring, and give you those beautiful blooms you've been dreaming of. Neglecting this step can lead to plant loss, weaker growth, and a lot of disappointment when spring rolls around. So, let's dive into the four key steps to properly winterize your flower beds, making sure your garden is ready to burst back to life when the warmer weather returns.
Step 1: The Big Clean-Up Garden Debris and Disease Prevention
First things first, it's time for a thorough clean-up. This might sound like a chore, but it's super important for the health of your plants. You want to remove any dead or diseased plant material, fallen leaves, and general garden debris. Why? Because these can become a cozy home for pests and diseases over the winter. Imagine a fungal spore just chilling out on a dead leaf, waiting for spring to infect your new growth – no thanks!
Removing Dead Annuals and Spent Perennial Foliage
For your annuals, it's pretty straightforward: once they're done for the season, pull them out. They won't come back, and leaving them in the ground just invites trouble. For perennials, it's a bit more nuanced. Some perennials, like hostas or daylilies, benefit from being cut back to the ground after the first hard frost. This helps prevent diseases from overwintering in their foliage. Others, like ornamental grasses or coneflowers, can be left standing for winter interest and to provide food and shelter for birds. Just make sure to cut them back in early spring before new growth begins.
Clearing Fallen Leaves and Weeds
Don't let a thick blanket of fallen leaves smother your delicate plants or become a breeding ground for slugs and other pests. Rake them up! You can add them to your compost pile, use them as mulch (more on that later), or simply dispose of them. While you're at it, pull any lingering weeds. Weeds are opportunistic and will try to steal nutrients and space from your desirable plants, even in winter. Getting rid of them now means less work in the spring.
Step 2: Pruning and Dividing Perennials Preparing for Dormancy
Once the clean-up is done, it's time to think about pruning and dividing. This step is all about preparing your perennials for their dormant period and ensuring they have enough energy to bounce back strong.
When and How to Prune Perennials
As mentioned, some perennials benefit from a fall cutback. Generally, you want to wait until after the first hard frost, when the plant has started to go dormant. Use sharp, clean pruning shears to cut back the foliage. For plants like peonies, phlox, and delphiniums, cutting them back to a few inches above the ground is a good idea. This reduces the risk of fungal diseases like powdery mildew overwintering. For woody perennials like roses, a light prune to remove dead or diseased canes is fine, but save the major pruning for early spring.
Dividing Overgrown Perennials for Healthier Growth
Fall is an excellent time to divide many overgrown perennials. If your plants are looking less vigorous, have a dead center, or are simply too large for their space, dividing them can rejuvenate them. Plants like hostas, daylilies, irises, and coneflowers respond well to fall division. Dig up the clump, gently separate it into smaller sections (each with roots and some foliage), and replant them. Make sure to amend the soil with compost before replanting to give them a good start. This also gives you more plants to fill other areas of your garden or share with friends!
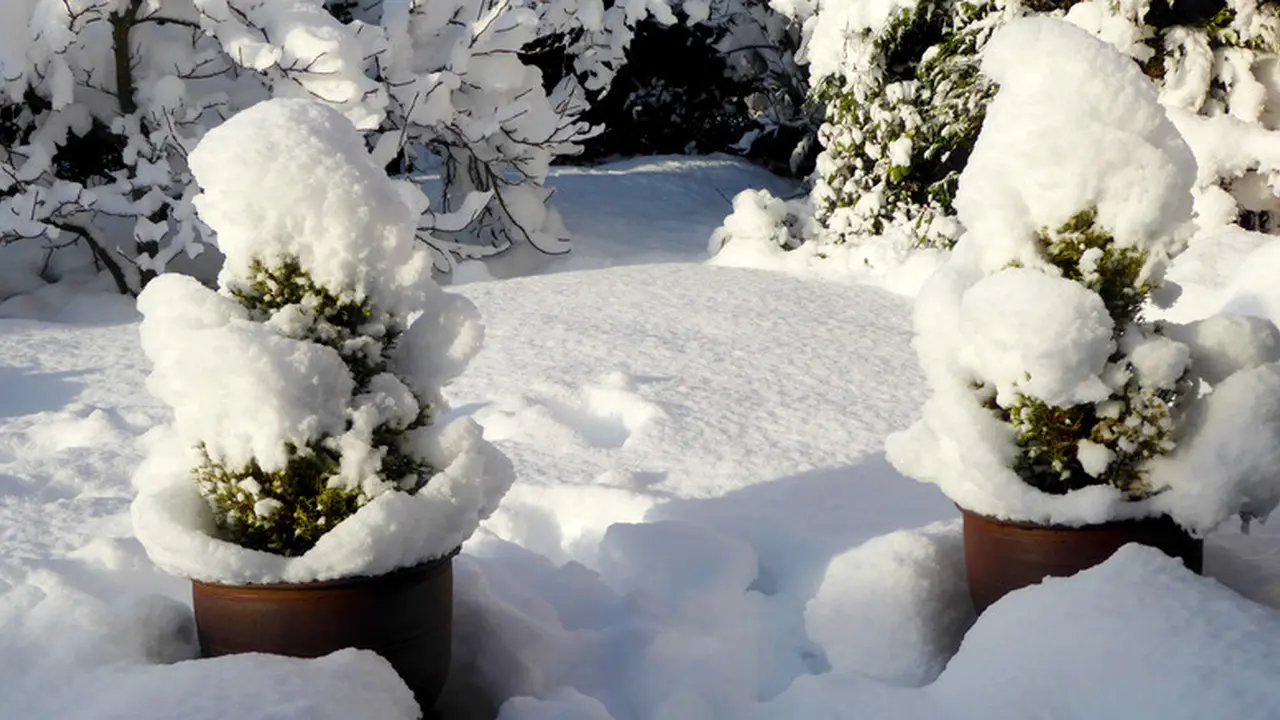
Step 3: Mulching for Winter Protection Insulating Your Plants
This is arguably the most critical step for winterizing your flower beds: applying a good layer of mulch. Mulch acts like a cozy blanket for your plants' roots, protecting them from the harsh realities of winter.
Benefits of Winter Mulching
Winter mulching does a few amazing things. First, it insulates the soil, keeping the root zone at a more consistent temperature. This prevents the dreaded 'freeze-thaw' cycle, where the ground freezes, thaws, and refreezes, which can heave plants out of the ground (known as 'frost heave') and damage their roots. Second, it helps retain moisture in the soil, which is still important even in winter. Third, it suppresses weeds that might try to sprout during milder spells. And finally, as organic mulches break down, they add valuable nutrients to your soil.
Best Mulch Materials and Application Tips
You have several options for winter mulch. Shredded leaves are fantastic – they're free, readily available, and break down nicely. Straw is another excellent choice, especially for vegetable beds or newly planted areas. Wood chips or bark mulch also work well, but they break down more slowly. Aim for a layer of 2-4 inches of mulch over your flower beds. Apply it after the ground has frozen, or at least after temperatures have consistently dropped. Applying it too early can trap warmth and encourage pests. Make sure to keep the mulch a few inches away from the crowns of your plants to prevent rot and pest issues.
Recommended Mulch Products
When it comes to specific products, you can often find bulk shredded leaves or straw from local garden centers or even farmers. For bagged options, here are a few popular choices:
- Scotts Nature Scapes Advanced Color Enhanced Mulch (Brown): This is a popular choice for its aesthetic appeal and durability. It's made from wood and dyed to maintain its color longer. A 2 cu. ft. bag typically costs around $4-6. It's great for general flower beds where you want a neat, uniform look.
- Gardener's Supply Company Organic Straw Mulch: If you prefer straw, this is a good option. It's often sold in compressed bales, which expand significantly. A bale might cost $15-25, but it covers a large area. Excellent for insulating and adding organic matter.
- Local Arborist Wood Chips: Often, local tree removal services will give away wood chips for free or a very low cost. These are fantastic for larger areas and provide excellent insulation. The downside is they might not be as uniform in appearance.
The best choice depends on your budget, aesthetic preference, and the size of your garden. For most home gardeners, a combination of shredded leaves (if you have them) and a bagged wood mulch works wonderfully.
Step 4: Watering and Protecting Tender Plants Ensuring Hydration and Shelter
Even in winter, your plants need some attention, especially when it comes to water and extra protection for the more tender varieties.
Last Deep Watering Before Winter
Before the ground freezes solid, give your flower beds one last deep watering. This is especially important for evergreens and newly planted perennials. Adequate moisture in the soil helps protect roots from desiccation (drying out) during cold, windy winter days. Water slowly and deeply to ensure the moisture penetrates the soil rather than just running off.
Protecting Tender Perennials and Roses
Some plants, particularly those at the edge of their hardiness zone or newly planted specimens, might need extra protection. For tender roses, you can mound soil or compost around the base of the plant (known as 'hilling up') to protect the graft union. Rose cones or burlap wraps can also provide additional insulation. For other tender perennials, a thick layer of straw or evergreen boughs can offer a bit more warmth and protection from harsh winds. Just remember to remove these extra layers in early spring as temperatures begin to rise to prevent rot.
Considering Anti-Desiccants for Evergreens
For broadleaf evergreens (like rhododendrons or hollies) that are exposed to winter winds and sun, an anti-desiccant spray can be beneficial. These sprays form a clear, protective coating on the leaves, reducing moisture loss. Apply them when temperatures are above freezing and no rain is expected for 24 hours. This isn't usually necessary for most herbaceous perennials, but it's a good consideration for your evergreen shrubs in the flower bed.
Product Recommendations for Tender Plant Protection
- Rose Cones (e.g., Gardeneer by Dalen Rose Cone): These plastic or styrofoam cones fit over individual rose bushes, providing an insulating layer. They typically cost around $5-10 per cone. Best for protecting the graft union of hybrid tea roses.
- Burlap Fabric (e.g., DeWitt Burlap Fabric): Sold in rolls, burlap is excellent for wrapping shrubs or creating windbreaks. A roll can range from $15-30 depending on size. Versatile for protecting a variety of tender plants from windburn and sunscald.
- Wilt-Pruf Anti-Desiccant Spray: A popular brand for anti-desiccant sprays. A quart concentrate might cost $20-30 and can be diluted to cover a large area. Ideal for protecting evergreens from winter desiccation.
By following these four key steps – cleaning up, pruning and dividing, mulching, and providing extra protection where needed – you'll be giving your flower beds the best possible chance to not only survive winter but to thrive and put on a spectacular show next spring. It's a bit of work now, but trust me, your future self (and your beautiful garden) will thank you for it!
:max_bytes(150000):strip_icc()/277019-baked-pork-chops-with-cream-of-mushroom-soup-DDMFS-beauty-4x3-BG-7505-5762b731cf30447d9cbbbbbf387beafa.jpg)