Growing Bulbs for Spring Blooms 3 Easy Steps
Plant flower bulbs for a spectacular spring display with these 3 easy steps. A guide for beginner gardeners.
Plant flower bulbs for a spectacular spring display with these 3 easy steps. A guide for beginner gardeners.
Growing Bulbs for Spring Blooms 3 Easy Steps
There's something truly magical about spring. After the long, cold months of winter, the first signs of life emerging from the soil are a welcome sight. And for many gardeners, those first bursts of color come from spring-flowering bulbs. Think vibrant tulips, cheerful daffodils, fragrant hyacinths, and delicate crocuses – they're like little promises of warmer days to come. If you're a beginner gardener, planting bulbs might seem a bit daunting, but trust me, it's one of the most rewarding things you can do. With just a little planning and effort in the fall, you can create a breathtaking display that will make your garden the envy of the neighborhood. This guide will walk you through the three easy steps to successful bulb planting, ensuring a spectacular spring bloom.
Step 1 Choosing the Right Bulbs for Your Garden
The first and arguably most important step is selecting the right bulbs. Not all bulbs are created equal, and choosing varieties that suit your climate and garden conditions is crucial for success. When you're at the garden center or browsing online, you'll encounter a dizzying array of options. Don't get overwhelmed! Focus on a few key factors.
Understanding Bulb Types and Bloom Times
Spring-flowering bulbs are typically planted in the fall. They need a period of cold dormancy to initiate flowering. Different bulbs bloom at different times in the spring, so you can create a continuous display from early spring to late spring. For example:
- Early Spring Bloomers: Crocuses, Snowdrops (Galanthus), Winter Aconite (Eranthis hyemalis), and some early Daffodil varieties. These are often the first to pop up, sometimes even through a late snowfall.
- Mid-Spring Bloomers: Most Daffodils, Hyacinths, early Tulips, and Grape Hyacinths (Muscari). This is when your garden really starts to come alive with color and fragrance.
- Late Spring Bloomers: Late Tulips, Alliums, and Fritillaria. These provide a grand finale to your spring bulb show, often bridging the gap before summer perennials take over.
Consider planting a mix of these to ensure a long-lasting display. Imagine crocuses peeking through the snow, followed by a sea of daffodils, and then the stately elegance of tulips and alliums. It's a truly magical progression.
Assessing Your Climate and Hardiness Zones
Before you buy, know your USDA Plant Hardiness Zone. This will tell you which plants are likely to survive the winter in your area. Most spring-flowering bulbs require a chilling period, and if your winters aren't cold enough, they might not bloom. Conversely, if your winters are too harsh, some less hardy varieties might not survive. Check the bulb packaging or product description for zone compatibility.
Considering Sunlight and Soil Conditions
Most spring-flowering bulbs prefer full sun to partial shade. Full sun means at least 6 hours of direct sunlight per day. Partial shade means 3-6 hours. While many bulbs will tolerate some shade, they generally produce more abundant blooms in sunnier spots. Good drainage is also paramount. Bulbs hate wet feet and will rot in waterlogged soil. If you have heavy clay soil, consider amending it with organic matter like compost or planting in raised beds.
Recommended Bulbs for Beginners
For those just starting out, here are some tried-and-true, easy-to-grow options:
- Daffodils (Narcissus): Almost foolproof! They're deer and rodent resistant, come in a wide range of colors and forms, and naturalize well, meaning they'll multiply and come back year after year.
- Tulips (Tulipa): While some varieties can be finicky, many are quite easy. Choose Darwin Hybrid or Triumph tulips for reliable performance. Be aware that deer and rodents love tulips, so consider planting them in protected areas or using repellents.
- Hyacinths (Hyacinthus orientalis): Known for their intense fragrance and vibrant, dense flower spikes. They're relatively easy to grow and make a big impact.
- Crocuses (Crocus): Early bloomers that signal the arrival of spring. They're small but mighty, perfect for naturalizing in lawns or under deciduous trees.
- Grape Hyacinths (Muscari): Adorable, small blue (or white/pink) flowers that resemble miniature grape clusters. They naturalize easily and are very low maintenance.
- Alliums: Ornamental onions that produce striking, globe-shaped flowers on tall stems. They're deer and rodent resistant and add architectural interest to the garden.
Step 2 Planting Your Bulbs The Right Way
Once you've chosen your bulbs, it's time to get them in the ground. The timing of planting is crucial. You want to plant them in the fall, after the first hard frost but before the ground freezes solid. This typically means late September through November in most temperate climates. Planting too early can cause them to sprout prematurely, making them vulnerable to winter damage.
Preparing the Planting Site and Soil
As mentioned, good drainage is key. If your soil is heavy clay, amend it with 2-4 inches of compost, well-rotted manure, or other organic matter. This will improve drainage and add nutrients. Dig it into the top 8-12 inches of soil. You can also add a slow-release granular fertilizer specifically formulated for bulbs, or bone meal, which provides phosphorus for strong root development. Follow the product instructions for application rates.
Digging the Holes and Spacing
A general rule of thumb for planting depth is to plant bulbs two to three times their height deep. So, a 2-inch tall bulb should be planted 4-6 inches deep. Larger bulbs like tulips and daffodils will go deeper than smaller bulbs like crocuses. Plant bulbs with the pointed end facing up and the flatter, root-forming end facing down. If you can't tell which end is which, plant it on its side; it will still find its way up.
For spacing, refer to the bulb packaging, but generally, larger bulbs like daffodils and tulips should be spaced 4-6 inches apart, while smaller bulbs like crocuses and muscari can be closer, about 2-3 inches apart. For a more natural look, plant bulbs in drifts or clusters rather than in straight rows. Dig a larger hole and place several bulbs in it, varying the spacing slightly. This creates a more impactful display.
Watering and Mulching After Planting
After planting, water the area thoroughly. This helps settle the soil around the bulbs and provides them with the moisture they need to start developing roots. If your fall is particularly dry, continue to water periodically until the ground freezes. Once the ground freezes, apply a 2-4 inch layer of mulch (such as straw, shredded leaves, or wood chips) over the planting area. This helps insulate the soil, protect the bulbs from extreme temperature fluctuations, and conserve moisture. Remove the mulch in early spring when new growth begins to emerge.
Step 3 Care and Maintenance for Lasting Blooms
Once your bulbs are planted, most of the hard work is done! However, a little ongoing care will ensure they return year after year and put on their best show.
Watering During Growth and Bloom
Once your bulbs emerge in spring, they generally don't need much supplemental watering unless your spring is unusually dry. They get most of their moisture from spring rains and the melting snow. However, if you experience a prolonged dry spell during their growth and bloom period, give them a good deep watering. Avoid overwatering, as this can lead to rot.
Fertilizing for Future Blooms
While not strictly necessary every year, a light application of a balanced granular fertilizer (like a 5-10-5 or 10-10-10) in early spring, just as the foliage emerges, can help replenish nutrients and promote stronger blooms in subsequent years. Avoid high-nitrogen fertilizers, which will encourage leafy growth at the expense of flowers. Bone meal, applied at planting, is also beneficial for root development.
Deadheading and Foliage Management
Once your bulbs have finished blooming, you'll want to deadhead them. This means removing the spent flower heads. This prevents the plant from putting energy into producing seeds and instead directs that energy back into the bulb, strengthening it for next year's bloom. Simply snip off the flower stalk below the spent bloom, but leave the foliage intact.
This is perhaps the most important tip for perennializing bulbs: do not cut back the foliage until it has naturally yellowed and died back. The leaves are essential for photosynthesis, which is how the bulb stores energy for the following year's bloom. This usually takes about 6-8 weeks after flowering. While it might look a bit messy, resist the urge to tidy up too early. Once the foliage is completely yellow and easily pulls away, you can remove it.
Pest and Disease Management
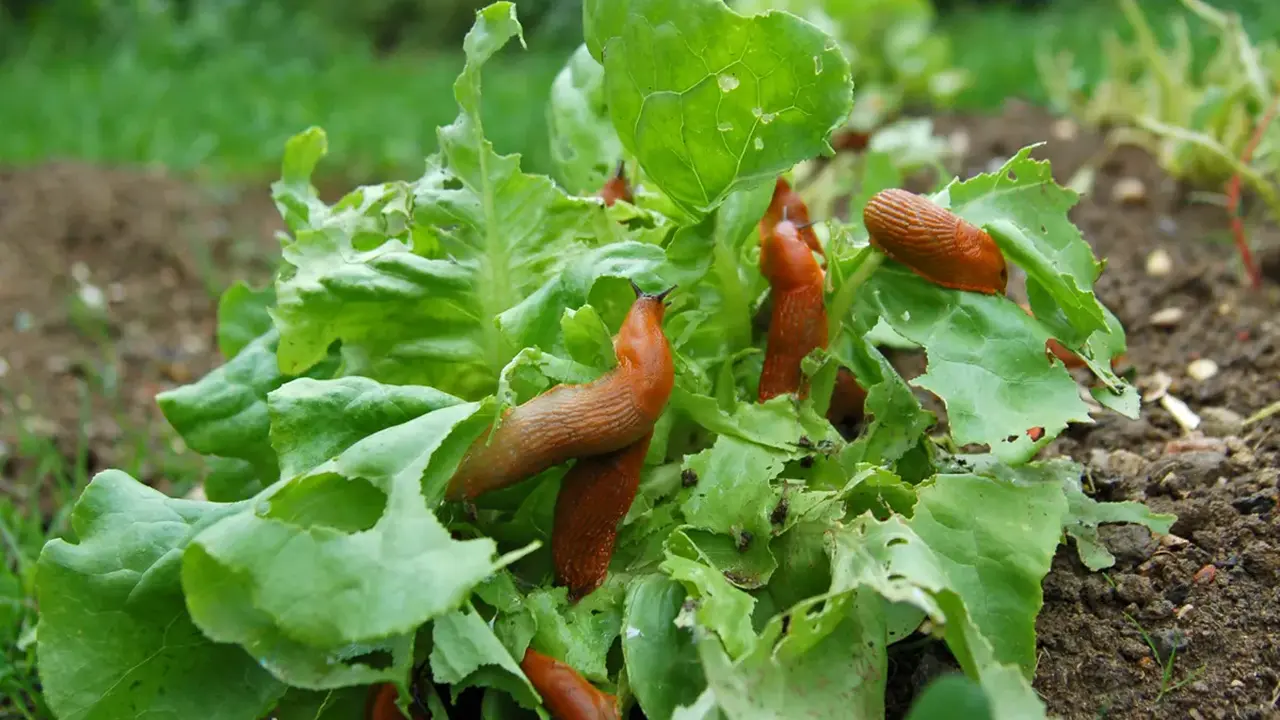
Spring-flowering bulbs are generally quite resilient, but they can occasionally encounter issues. The most common pests are rodents (squirrels, voles, mice) who love to dig up and eat tulip and crocus bulbs. Daffodils are generally resistant. To deter rodents, you can:
- Plant bulbs in wire cages or baskets.
- Sprinkle a granular repellent (like Bonide Repels-All Granules, typically around $15-20 for a 3lb bag, widely available at garden centers and online) around the planting area.
- Mix sharp gravel or crushed oyster shells into the planting hole.
- Plant deer and rodent-resistant bulbs like daffodils, alliums, and fritillaria.
Fungal diseases like basal rot can occur in poorly drained soil. Ensure good drainage to prevent this. If you notice any diseased bulbs, remove and discard them to prevent spread.
Recommended Products for Bulb Planting Success
To make your bulb planting experience even smoother, here are a few product recommendations, along with their typical uses, comparisons, and approximate price ranges:
1. Bulb Planters
These tools make digging holes for bulbs much easier, especially if you're planting a lot. They come in various designs:
- Handheld Bulb Planter: (e.g., Fiskars Ergo Bulb Planter, ~$15-25) This is a simple, cylindrical tool with a handle. You push it into the soil, twist, and pull out a plug of soil, leaving a perfect hole. Great for smaller planting jobs or individual bulbs.
- Long-Handled Bulb Planter: (e.g., Ames Steel Bulb Planter, ~$30-50) Similar to the handheld but with a long handle, allowing you to plant while standing. This saves your back if you have a large area to plant.
- Auger Drill Bit for Bulbs: (e.g., Power Planter Auger Drill Bit, ~$25-60 depending on size) This attaches to a cordless drill and quickly digs holes. It's a game-changer for large-scale planting, but requires a powerful drill and can be a bit messy.
Comparison: Handheld is cheapest and good for small jobs. Long-handled is better for larger areas and back comfort. Auger is fastest for very large projects but requires a drill and can be more expensive.
2. Bulb Fertilizers / Bone Meal
These provide essential nutrients for strong root development and future blooms.
- Bone Meal: (e.g., Espoma Bone Meal, ~$10-20 for a 4lb bag) A natural source of phosphorus and calcium, excellent for root growth. Apply at planting time.
- Slow-Release Bulb Food: (e.g., Jobe's Organics Bulb Food, ~$15-25 for a 4lb box) Formulated specifically for bulbs, providing a balanced release of nutrients over time. Can be applied at planting or in early spring.
Comparison: Bone meal is a classic, natural choice for phosphorus. Dedicated bulb foods offer a more balanced nutrient profile and often include micronutrients. Both are effective.
3. Rodent Repellents
If you have issues with squirrels, voles, or mice digging up your bulbs, these can be lifesavers.
- Granular Repellent: (e.g., Bonide Repels-All Granules, ~$15-20 for 3lb) Contains natural ingredients that deter animals by taste and smell. Sprinkle around planted areas. Needs reapplication after heavy rain.
- Bulb Baskets/Cages: (e.g., Gardener's Supply Company Bulb Baskets, ~$10-20 for a pack of 5-10) Wire or plastic mesh baskets that you plant bulbs inside. They physically protect the bulbs from digging animals. More permanent solution but can be more labor-intensive to install.
Comparison: Granular repellents are easy to apply but require reapplication. Bulb baskets offer physical protection and are a one-time installation but can be more costly and time-consuming initially.
4. Garden Gloves
Protect your hands from dirt, thorns, and potential irritants.
- General Purpose Gardening Gloves: (e.g., Wells Lamont Leather Gloves, ~$10-20) Durable and comfortable for most tasks.
- Waterproof/Nitrile Coated Gloves: (e.g., Atlas Nitrile Touch Gloves, ~$5-10) Excellent grip and keep hands dry, great for working with damp soil.
Comparison: Leather gloves offer good protection and durability. Nitrile-coated gloves offer better dexterity and water resistance for wet conditions.
By following these three easy steps – choosing the right bulbs, planting them correctly, and providing a little ongoing care – you'll be well on your way to enjoying a spectacular spring display. There's nothing quite like seeing those first pops of color emerge from the ground, a vibrant reminder that spring has truly arrived. Happy planting!
:max_bytes(150000):strip_icc()/277019-baked-pork-chops-with-cream-of-mushroom-soup-DDMFS-beauty-4x3-BG-7505-5762b731cf30447d9cbbbbbf387beafa.jpg)