Prepare your vegetable garden for winter with these 4 essential steps. Ensure a healthy start next spring.
Prepare your vegetable garden for winter with these 4 essential steps. Ensure a healthy start next spring.
Winterizing Your Vegetable Garden 4 Key Steps
Understanding Winter Garden Preparation Why It Matters
As the vibrant colors of autumn begin to fade and the crisp air signals the approach of winter, many gardeners might think their work is done. However, for those who cultivate vegetable gardens, winterizing is a crucial step that ensures the health and productivity of your soil and plants for the following spring. It's not just about tidying up; it's about protecting your investment, enriching your soil, and setting the stage for a bountiful harvest next year. Neglecting winter preparation can lead to depleted soil, increased pest problems, and a slower start to your gardening season. Think of it as putting your garden to bed for a long, restorative sleep, allowing it to wake up refreshed and ready to produce.
This comprehensive guide will walk you through four essential steps to effectively winterize your vegetable garden. We'll cover everything from clearing out spent plants to protecting your soil and tools, ensuring you're well-prepared for the colder months ahead. We'll also delve into specific product recommendations, their uses, and price comparisons to help you make informed decisions.
Step 1 Clearing Out Spent Plants and Garden Debris
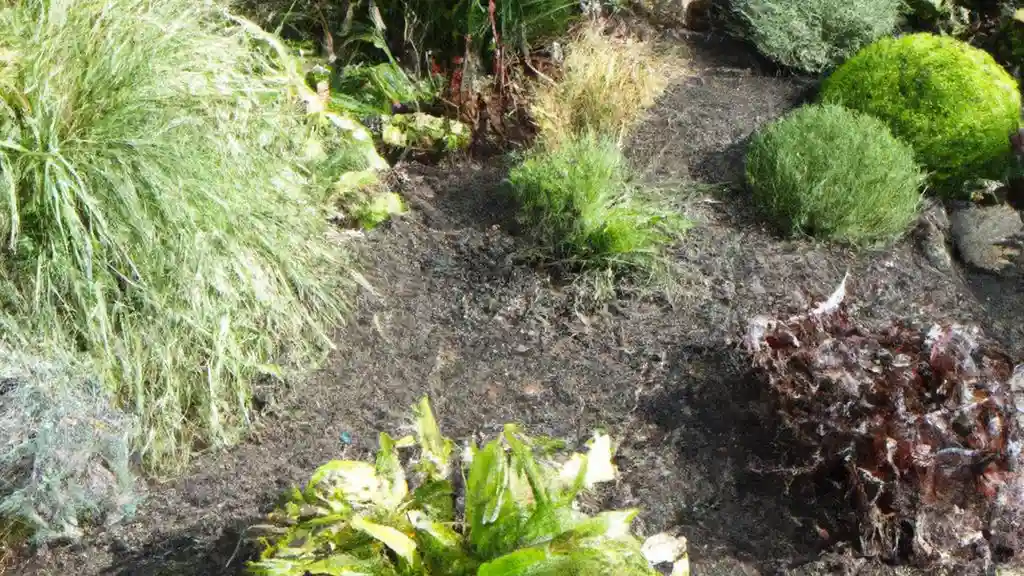
One of the first and most important tasks in winterizing your vegetable garden is to remove all spent plants and garden debris. This might seem like a simple cleanup, but it plays a vital role in preventing diseases and pests from overwintering in your garden. Leaving diseased plant material or old vegetable scraps can create a breeding ground for pathogens and insects that will happily emerge in spring to wreak havoc on your new crops.
Start by pulling out all annual vegetable plants that have finished producing. This includes tomato vines, bean stalks, corn stalks, and any other plants that won't survive the winter. If any plants showed signs of disease during the growing season, it's crucial to dispose of them properly – do not compost them, as this can spread the disease. Bag them up and send them out with your regular trash.
For healthy plant material, you have a few options. You can chop them up and add them to your compost pile, where they will break down over the winter and contribute to nutrient-rich compost for next year. Alternatively, if you have a large amount of healthy plant matter, you can chop it finely and spread it directly over your garden beds as a form of green manure, which will decompose and add organic matter to the soil.
Don't forget to remove any weeds that have popped up. Weeds can also harbor pests and diseases, and their seeds can overwinter, leading to a bigger weed problem in the spring. A thorough weeding now will save you a lot of effort later.
Recommended Tools for Clearing Debris
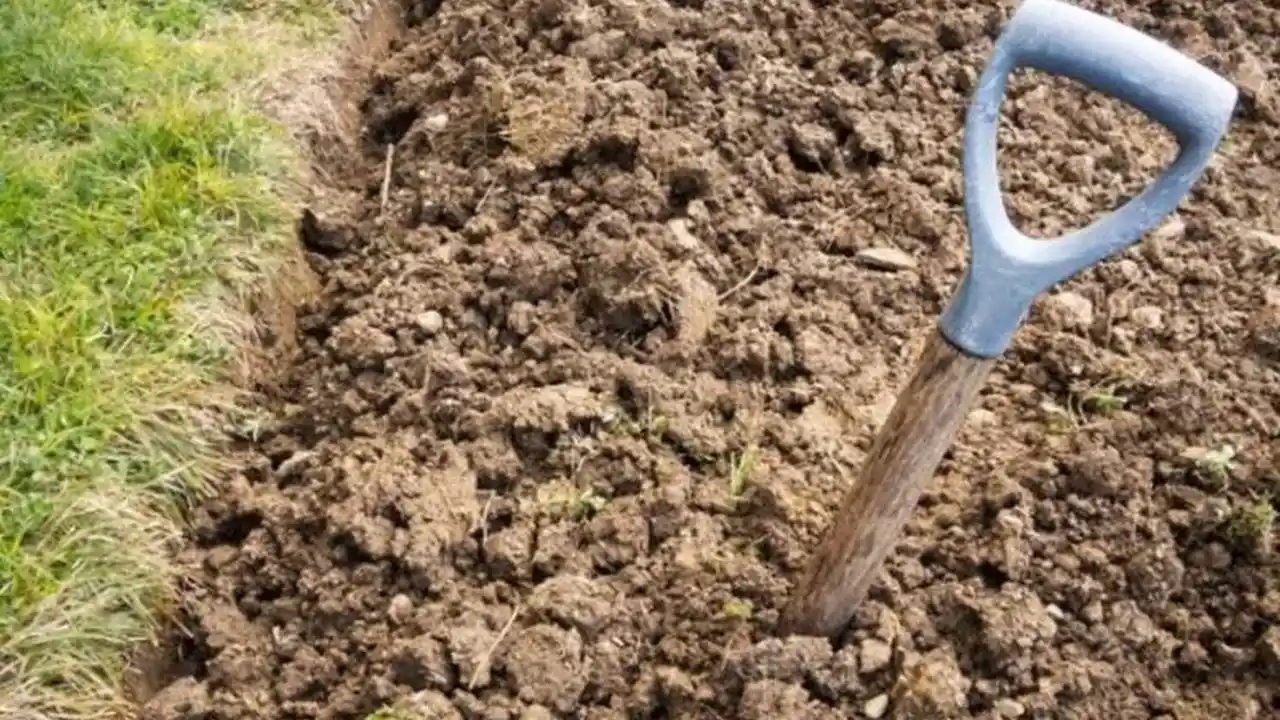
* Garden Fork or Digging Fork: Essential for loosening soil and lifting out stubborn roots. A good quality fork will last for years.
* Product Recommendation: Fiskars Ergo D-Handle Steel Garden Fork
* Use Case: Ideal for breaking up compacted soil, aerating, and lifting out plant roots. Its ergonomic design reduces strain.
* Price Range: $40-$60
* Garden Hoe: Perfect for cutting down weeds and loosening the top layer of soil.
* Product Recommendation: Ames True Temper Action Hoe
* Use Case: Efficiently slices through weeds just below the soil surface, making quick work of cleanup.
* Price Range: $20-$35
* Wheelbarrow or Garden Cart: Indispensable for transporting large amounts of plant material to your compost pile or disposal area.
* Product Recommendation: Gorilla Carts GOR4PS Poly Garden Dump Cart
* Use Case: Heavy-duty cart with a dumping feature, making it easy to unload debris. Great for larger gardens.
* Price Range: $100-$150
Step 2 Soil Enrichment and Protection Cover Cropping and Mulching
Once your garden beds are clear, the next critical step is to enrich and protect your soil. Winter can be harsh on exposed soil, leading to erosion, nutrient leaching, and compaction. By adding organic matter and planting cover crops, you can significantly improve soil health, suppress weeds, and prepare your beds for spring planting.
Composting and Adding Organic Matter
If you have a compost pile, now is an excellent time to spread a layer of finished compost over your garden beds. Compost is a powerhouse of nutrients and beneficial microorganisms that will slowly release into the soil over the winter, improving its structure and fertility. Aim for a layer of 1-2 inches.
If you don't have compost, you can add other forms of organic matter like well-rotted manure, shredded leaves, or straw. These materials will break down over time, enriching your soil. Just ensure any manure is well-aged to avoid burning plants with excess nitrogen in the spring.
Cover Cropping for Soil Health
Cover crops, also known as green manures, are plants grown specifically to improve soil health. They protect the soil from erosion, suppress weeds, add organic matter, and can even fix nitrogen in the soil, reducing the need for synthetic fertilizers. Planting cover crops in the fall allows them to establish before the coldest weather hits.
Common cover crops for vegetable gardens include:
* Winter Rye: Excellent for preventing erosion and adding organic matter. It's very hardy and grows well in cool temperatures.
* Hairy Vetch: A legume that fixes nitrogen in the soil, making it available for your spring crops. Often planted with winter rye.
* Crimson Clover: Another nitrogen-fixing legume that also attracts beneficial insects.
* Oats: A good choice for adding biomass and suppressing weeds. They typically winter-kill in colder climates, making them easy to manage in spring.
Broadcast the seeds evenly over your prepared beds and lightly rake them in. Water thoroughly to encourage germination. In the spring, you'll either turn the cover crop into the soil before it goes to seed or cut it down and leave it as a mulch layer.
Mulching for Protection
If cover cropping isn't an option, or if you want an extra layer of protection, applying a thick layer of mulch is highly beneficial. Mulch helps to insulate the soil, regulate temperature, retain moisture, and suppress weeds. It also slowly breaks down, adding organic matter to the soil.
Good mulching materials for winter include:
* Straw: Inexpensive, readily available, and provides excellent insulation. Avoid hay, as it often contains weed seeds.
* Shredded Leaves: Free and abundant in autumn. They break down well and add nutrients.
* Wood Chips: Best for pathways or around perennial plants, as they break down slowly and can tie up nitrogen if mixed into annual beds.
Apply a layer of mulch 4-6 inches thick over your garden beds. This will protect the soil from harsh winter elements and provide a cozy blanket for beneficial soil organisms.
Recommended Products for Soil Enrichment and Protection
* Compost: If you don't make your own, bagged compost is a great option.
* Product Recommendation: Espoma Organic Compost
* Use Case: Enriches soil with organic matter and beneficial microbes. Improves soil structure and nutrient availability.
* Price Range: $8-$15 per bag (1 cubic foot)
* Cover Crop Seeds: Purchase mixes or individual types based on your needs.
* Product Recommendation: True Leaf Market Winter Rye Cover Crop Seeds
* Use Case: Excellent for erosion control, weed suppression, and adding organic matter. Easy to grow.
* Price Range: $15-$30 per pound, depending on type and quantity.
* Straw Bales: Look for straw, not hay, at local garden centers or farm supply stores.
* Product Recommendation: Local Farm Supply Straw Bale
* Use Case: Provides excellent insulation and weed suppression. Decomposes into organic matter.
* Price Range: $5-$15 per bale.
Step 3 Tool Maintenance and Storage Extending Lifespan
While your garden beds are getting ready for their winter nap, don't forget about your trusty gardening tools. Proper cleaning, maintenance, and storage of your tools before winter sets in will extend their lifespan, prevent rust, and ensure they are ready for action when spring arrives. Neglecting tool care can lead to rusty, dull, and damaged equipment, costing you money and frustration down the line.
Cleaning Your Tools
Start by thoroughly cleaning all your tools. Remove any caked-on soil, plant sap, or debris. A stiff brush or a wire brush works well for this. For stubborn grime, you can use a hose or a bucket of soapy water. Make sure to dry them completely to prevent rust.
Sharpening and Oiling
Once clean, inspect your tools for any dull blades or rusty spots. Sharpen pruning shears, hoes, and shovels with a sharpening stone or file. Sharp tools make gardening easier and safer. For rusty spots, use steel wool or sandpaper to remove the rust, then wipe clean.
After cleaning and sharpening, apply a thin layer of oil to all metal parts. This creates a protective barrier against moisture and prevents rust. Linseed oil, mineral oil, or even WD-40 can work. For wooden handles, a light sanding followed by an application of linseed oil will keep them from drying out and cracking.
Proper Storage
Store your tools in a dry, protected area like a shed, garage, or tool cabinet. Hanging tools on hooks keeps them off the floor, preventing moisture buildup and making them easy to find. For smaller hand tools, a dedicated toolbox or drawer is ideal.
Recommended Products for Tool Maintenance
* Wire Brush: For removing stubborn dirt and rust.
* Product Recommendation: Stanley Wire Brush Set
* Use Case: Essential for scrubbing off dried soil and rust from metal surfaces.
* Price Range: $5-$10
* Sharpening Stone or File: To keep blades keen and efficient.
* Product Recommendation: Smith's Abrasives 3-in-1 Sharpening Stone
* Use Case: Versatile for sharpening various garden tools, from pruners to shovels.
* Price Range: $15-$25
* Linseed Oil or Mineral Oil: For protecting metal and conditioning wooden handles.
* Product Recommendation: Boiled Linseed Oil (for wood) / 3-in-One Multi-Purpose Oil (for metal)
* Use Case: Linseed oil nourishes wooden handles, preventing cracks. Multi-purpose oil protects metal from rust.
* Price Range: $10-$20
* Tool Storage Rack or Hooks: For organized and protected storage.
* Product Recommendation: Wall-Mounted Garden Tool Organizer
* Use Case: Keeps tools off the floor, preventing rust and making them easily accessible.
* Price Range: $20-$40
Step 4 Planning for Next Season Reflecting and Designing
Winterizing your garden isn't just about physical tasks; it's also an excellent time for reflection and planning. With the garden beds cleared and the tools put away, you have a blank slate and a quiet period to think about what worked well this year, what didn't, and what you want to achieve next season. This planning phase is crucial for continuous improvement and a more successful garden in the future.
Reviewing This Year's Garden
Take some time to review your gardening journal (if you keep one) or simply reflect on your experiences. Consider the following questions:
* Which vegetables thrived, and which struggled? Why?
* Were there any pest or disease issues? How can you prevent them next year?
* Did you have enough space for everything you wanted to grow?
* Were there any areas that received too much or too little sun?
* What did you enjoy growing the most? What would you like to try next?
This reflection will provide valuable insights for your future planting decisions.
Designing Your Next Garden Layout
With a fresh perspective, you can start designing your garden layout for the upcoming season. Consider crop rotation, which involves planting different types of vegetables in different areas each year to prevent nutrient depletion and reduce pest and disease buildup. For example, if you grew tomatoes in one bed this year, plant beans or peas there next year.
Think about companion planting – which plants grow well together and benefit each other. Sketch out your garden beds, noting where you want to plant specific vegetables. This visual planning can help you maximize space and ensure good plant health.
Researching New Varieties and Techniques
Winter is also the perfect time to dive into seed catalogs, gardening books, and online resources. Research new vegetable varieties that might be better suited to your climate or offer different flavors. Explore new gardening techniques you'd like to try, such as vertical gardening, succession planting, or starting seeds indoors.
Many seed companies release their new catalogs in late fall or early winter, making it an exciting time to browse and dream about next year's harvest. Ordering seeds early can also ensure you get the varieties you want before they sell out.
Recommended Resources for Planning
* Gardening Journal: A simple notebook or a dedicated garden planner.
* Product Recommendation: The Gardener's Logbook
* Use Case: Helps track planting dates, harvest yields, pest issues, and successes. Essential for learning from year to year.
* Price Range: $15-$30
* Seed Catalogs: Free from many seed companies.
* Product Recommendation: Johnny's Selected Seeds Catalog / Baker Creek Heirloom Seeds Catalog
* Use Case: Inspiring and informative resources for discovering new varieties and planning your crops.
* Price Range: Free (for catalogs), seeds vary widely in price.
* Gardening Books: For in-depth knowledge and inspiration.
* Product Recommendation: 'The Vegetable Gardener's Bible' by Edward C. Smith
* Use Case: A comprehensive guide for all aspects of vegetable gardening, from soil to harvest.
* Price Range: $20-$35
By diligently following these four key steps, you'll not only prepare your vegetable garden for the dormant winter months but also lay a strong foundation for a thriving and productive growing season next spring. Happy gardening!
:max_bytes(150000):strip_icc()/277019-baked-pork-chops-with-cream-of-mushroom-soup-DDMFS-beauty-4x3-BG-7505-5762b731cf30447d9cbbbbbf387beafa.jpg)